


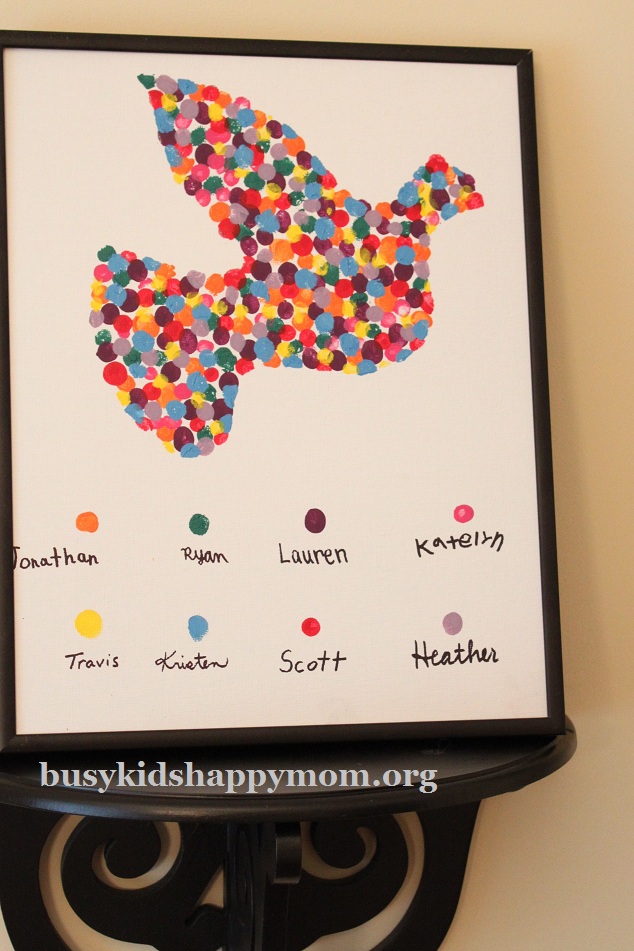
This is our “Fourteen Hundred Mile Art Project”. In an effort to do a collaborative art project with my sister and my crafty nieces, this project was mailed back and forth to get it all done! We made it as a gift for my mother for her January birthday. It still hangs proudly in her home and mine. We also did a heart, check it out here.
Supplies:
11×14 flat artist canvas (this is a link to a 2-pack)
acrylic paint in rainbow colors (this links to a fabulous rainbow pack)
::::::::::::::::::::::::::::::::::::::::::::::::::::::::::
 |
| 1. We went to the site with the original picture and enlarged it on our screen and traced it onto copy paper! |
 |
| 2. We cut out the bird and then transferred it to heavy weight 12×12 scrapbook paper. |
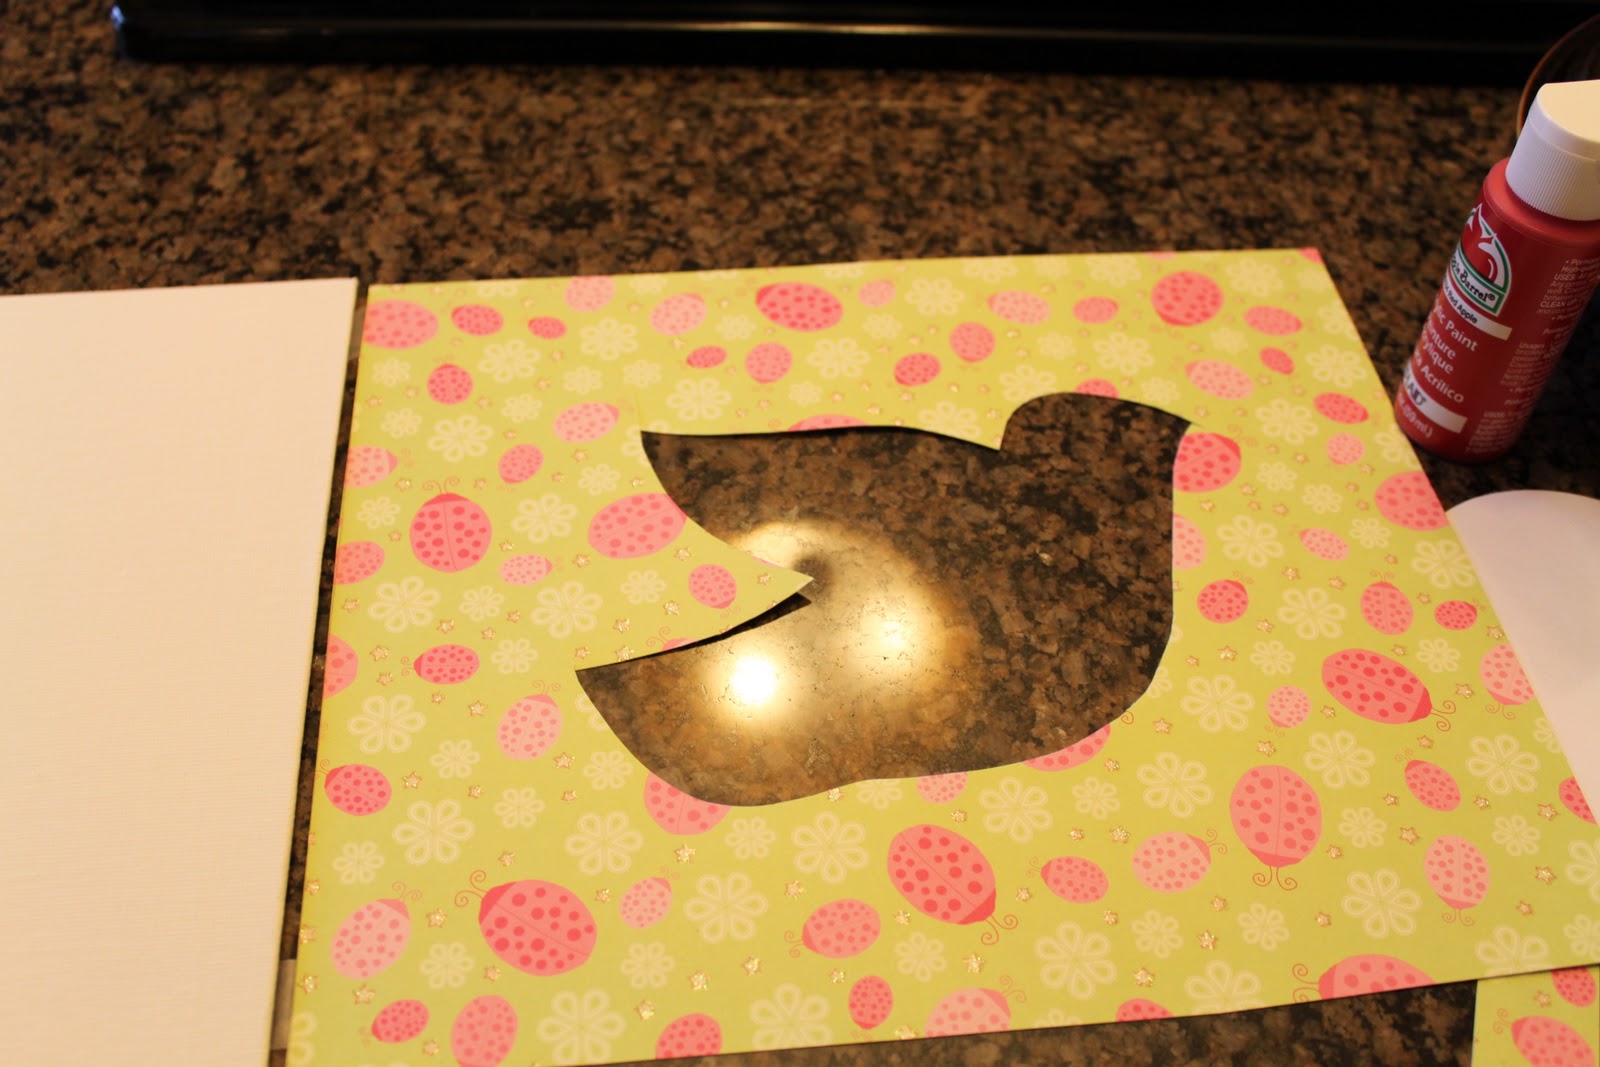 |
| 3. This is what it looked like before I decided to enlarge the wings and tail a little! |
 |
| 4. Make sure you practice stamping your color! |
 |
| 5. Let the colors dry before you start a new one! |
 |
| 6. Keep going! |
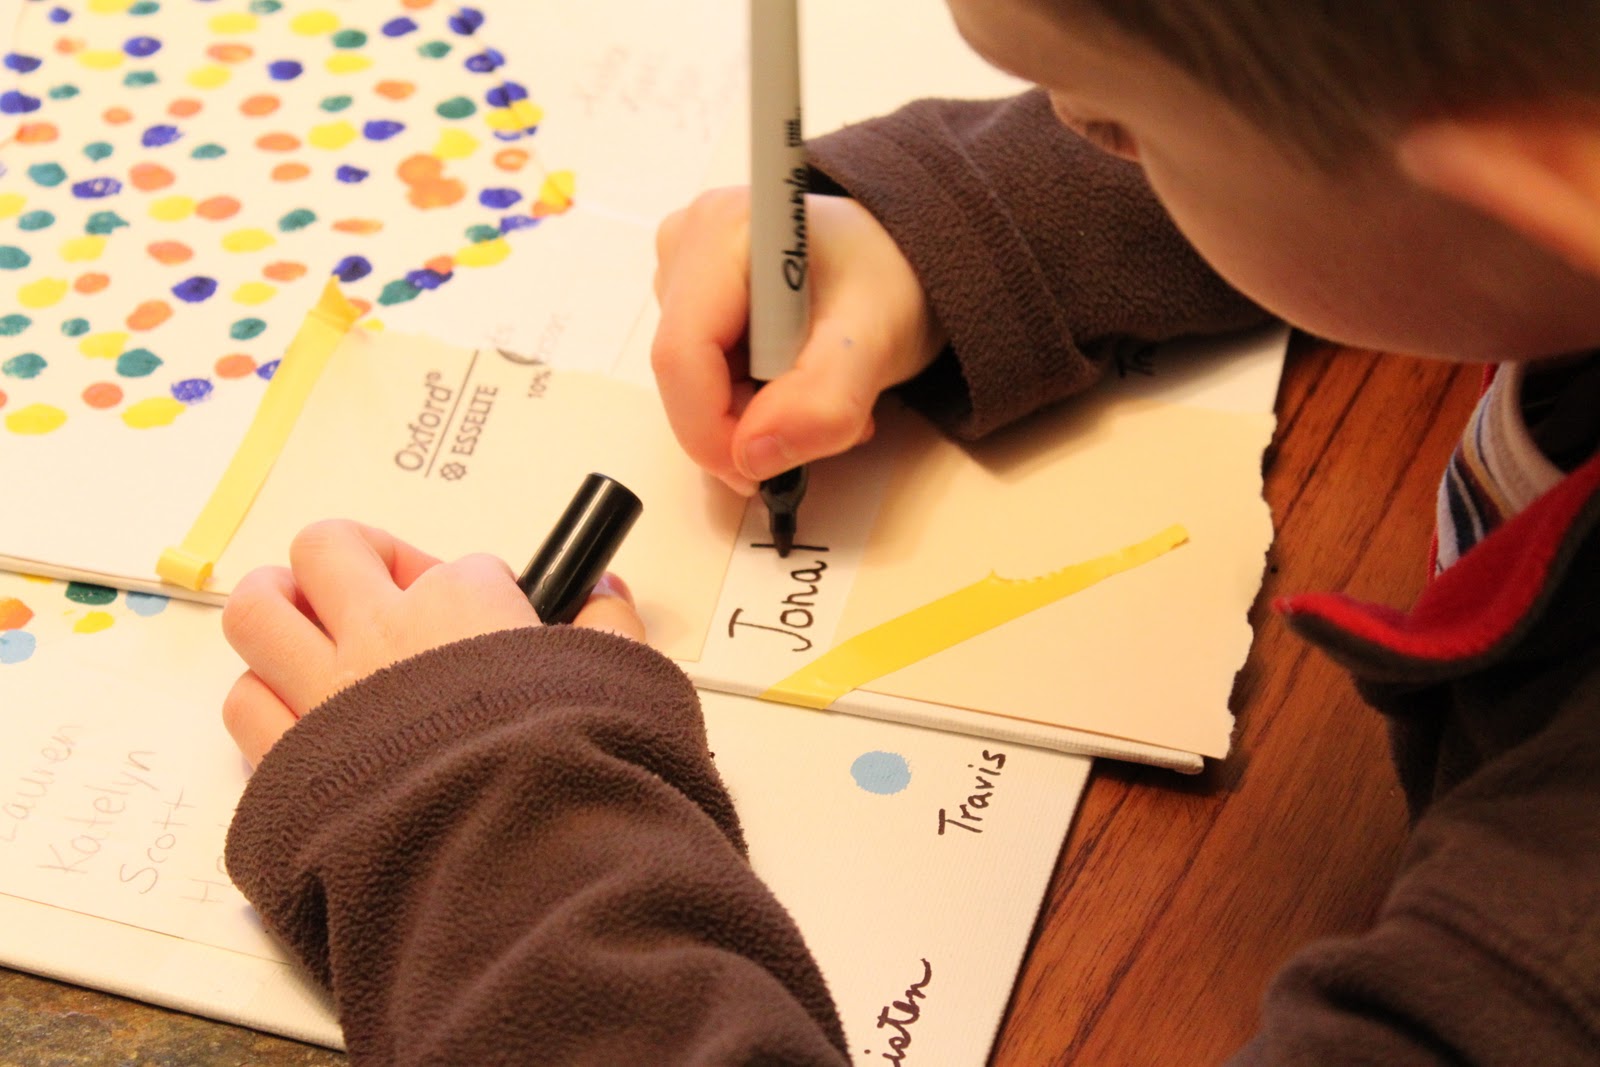 |
| 7. Write your name and then stamp your color. I put paper down to mark the general area the kids could write their name in. |
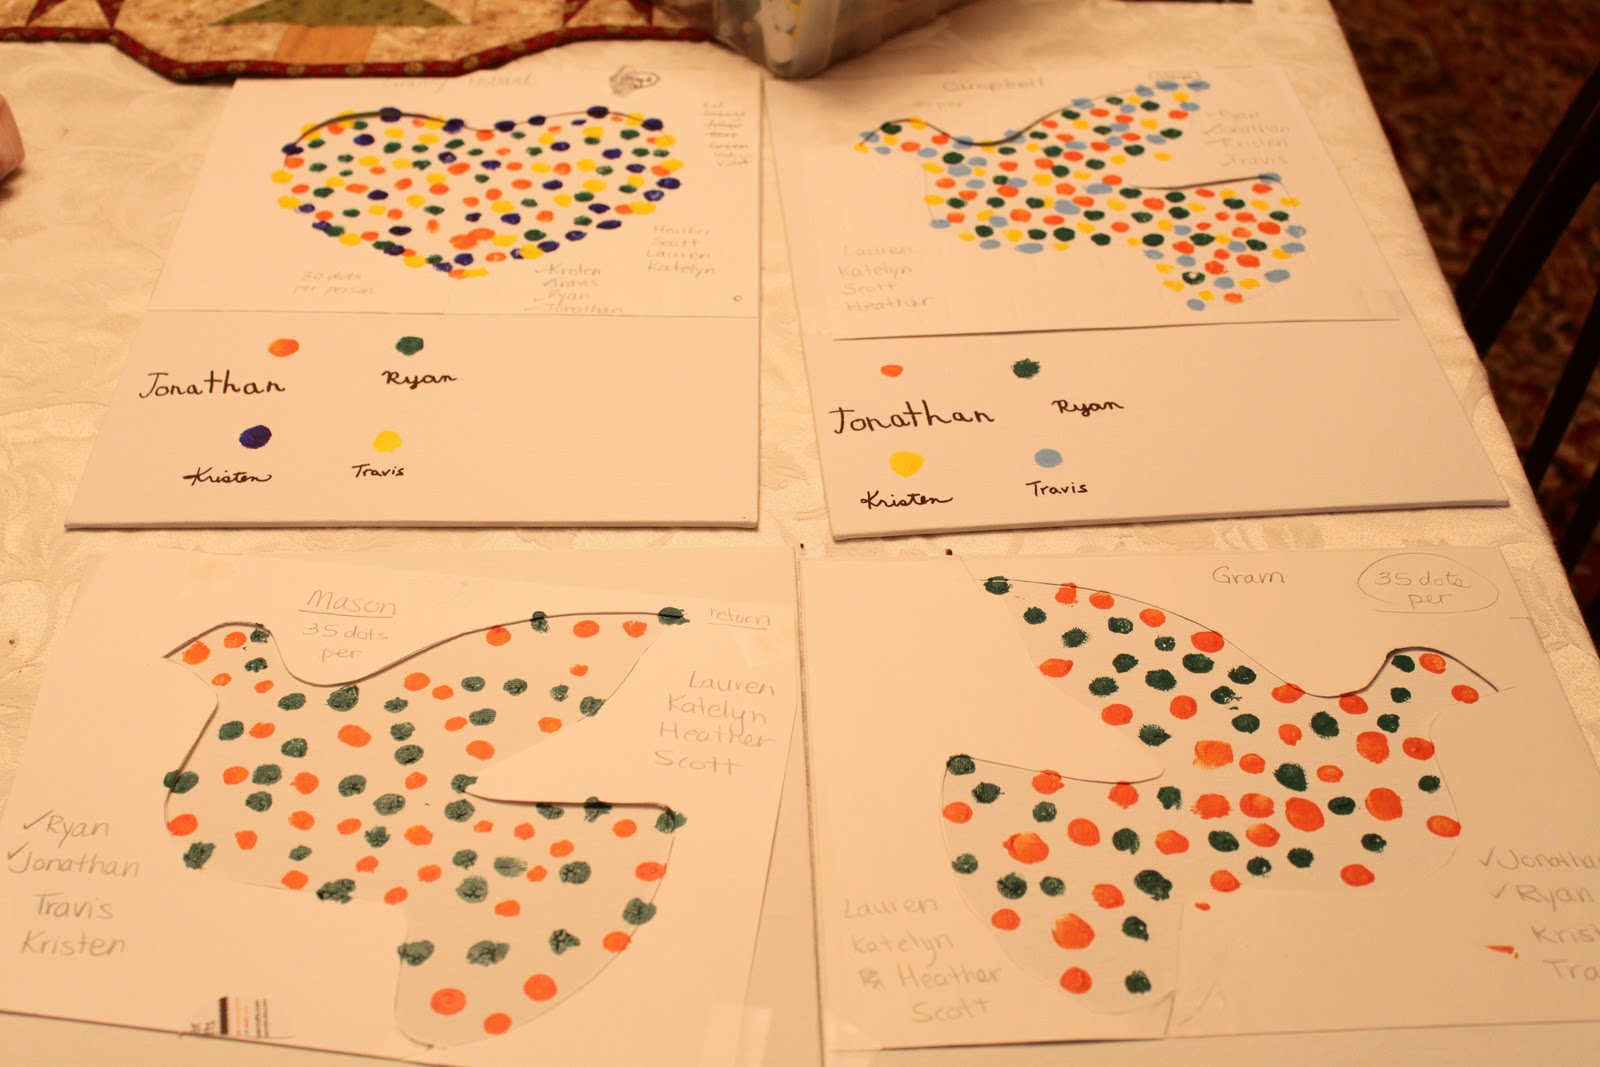 |
| 8. Ready to be mailed! My family’s part is pretty much done! As you can see, we got super excited and decided to make several so everyone can have on in their homes! To see the heart completed, go here. |
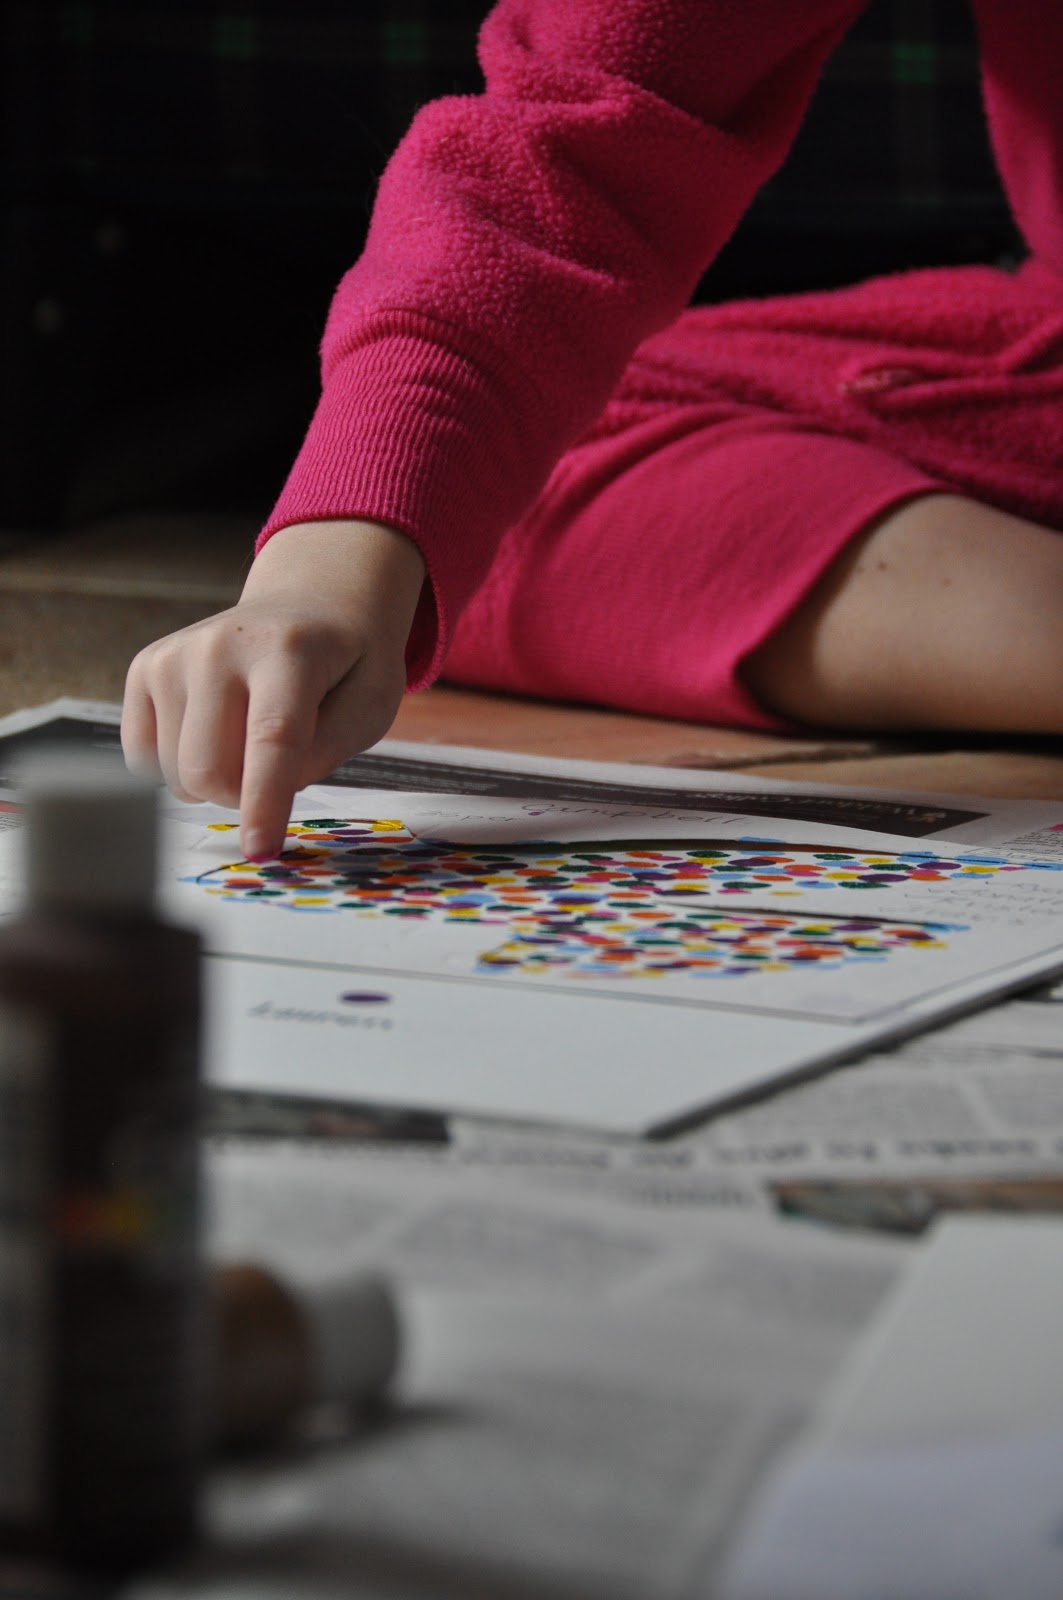 |
| 9. They arrived safe and sound! My niece got started right away! |
 |
| 10. Frame and wrap! Ready to give! Happy Birthday Mom / Gramom! |
Tips for making your own bird:
1. Write the name first and then do your fingerprint. Make sure kids practice!
2. Make a stencil – enlarge it on your screen and trace it on computer paper. Retrace onto card stock and cut out.
3. Tape the edge of your canvas that will be covered with the frame. Then it won’t be cut off when you place it in the frame!
4. Make sure you let each color have ample time to dry – a few hours.
5. When you remove the stencil, wash off any stuck paper with a little water and cloth. It shouldn’t hurt anything.
Please leave a comment below if you try it! I’d love to see your creations too!
This looks so lovely – and so nice everyone joined it. Gorgeous colours. Hope you have a good week.
I absolutely love this idea. I love how everyone gets to have a part. Thanks for sharing on Monday Madness.
What a smart idea!! I love fingerprint/handprint crafts. Thanks for sharing at oopsey daisy!
I love this idea! I saw it on Pinterest and have been wanting to try it. Your version looks great. It looks like the kids had fun too. Thanks for sharing.
this is great! i love that it was a collaborative work of cousins across the miles! this is being featured at this week’s tip-toe thru tuesday party!
andie @ crayonfreckles
Hello, myselyf aarti tyagi. I m a per-schooler homeschooler.I love ur idea n try my 2.9-half-year- old son.But i made a tree with the help of fingerprints.
I’m taking this general idea and using it for a fundraising project at school. The dove symbol is used in Confirmation, so our grade 7s will be fingerprinting a dove onto a ceramic plate that will be featured in our silent auction.
I’m using this general idea for a school fundraiser. Our grade 7s will be creating this on a ceramic plate to be featured in our silent auction.
Great idea and very good explanation! Thank you very much 🙂
Hi, I found this activity on Pinterest. I just used it with my children’s grief group as an end-of-the-year activity. The kids are ages 9-12. The activity went very well! The only change I made was to use Do-A-Dot markers (like bingo stampers). Thank you for a great tutorial!!
mont blanc pen case replica
The particular Agario Themes list seemed to be found in this awesome article on Reddit, so examining it regarding latest improvements is probably very best.
Hi admin, i must say you have high quality posts here.
Your website can go viral. You need initial traffic boost only.
How to get it? Search for; Mertiso’s tips go viral
I pay a quick visit every day some websites and blogs to
read content, however this webpage offers feature based writing.