

Are your child’s LEGO minifigures in need of a style upgrade? Look no further! Today, we’re diving into the fun and creative world of crafting Duct Tape LEGO capes. These easy-to-make accessories can transform any LEGO minifigure into a superhero, a knight, or a policeman. With just a few simple steps, you’ll have a whole new set of colorful capes to enhance your child’s imaginative play.
Why Duct Tape?
Duct tape is a versatile and durable material that’s perfect for crafting. It’s available in a wide range of colors and patterns, allowing for endless customization. Plus, it’s easy to work with and strong enough to withstand the rigors of play.
Materials Needed
- Duct tape (various colors and patterns)
- Scissors
- LEGO minifigures (to fit and measure the capes)
- Hole punch – 1/4 inch hole punch (for small holes)
- LEGO Cape stencil (see below)

Step-by-Step LEGO Cape Instructions
- Print Pattern: Print or trace an existing LEGO cape to make your own pattern. The sample cape is approximately 1 ¾ inches wide and tall. If printing, adjust the size to match these dimensions. Pattern link at bottom.
- Prepare the Duct Tape: Fold a piece of duct tape in half with the sticky sides together. This makes the cape super durable. If you want a reversible cape, use two different types of duct tape, sticking them together before cutting.
- Cut Out the Cape: Place the pattern on the duct tape. Trace around the pattern and cut out the shape carefully.
- Add Holes for Attachment: Punch holes at the top of the cape where it will attach to the minifigure. These holes may be tight initially but will stretch out over time.
- Attach the Cape: Remove the head from the LEGO minifigure. Place the cape around the neck, aligning the holes with the body pegs.
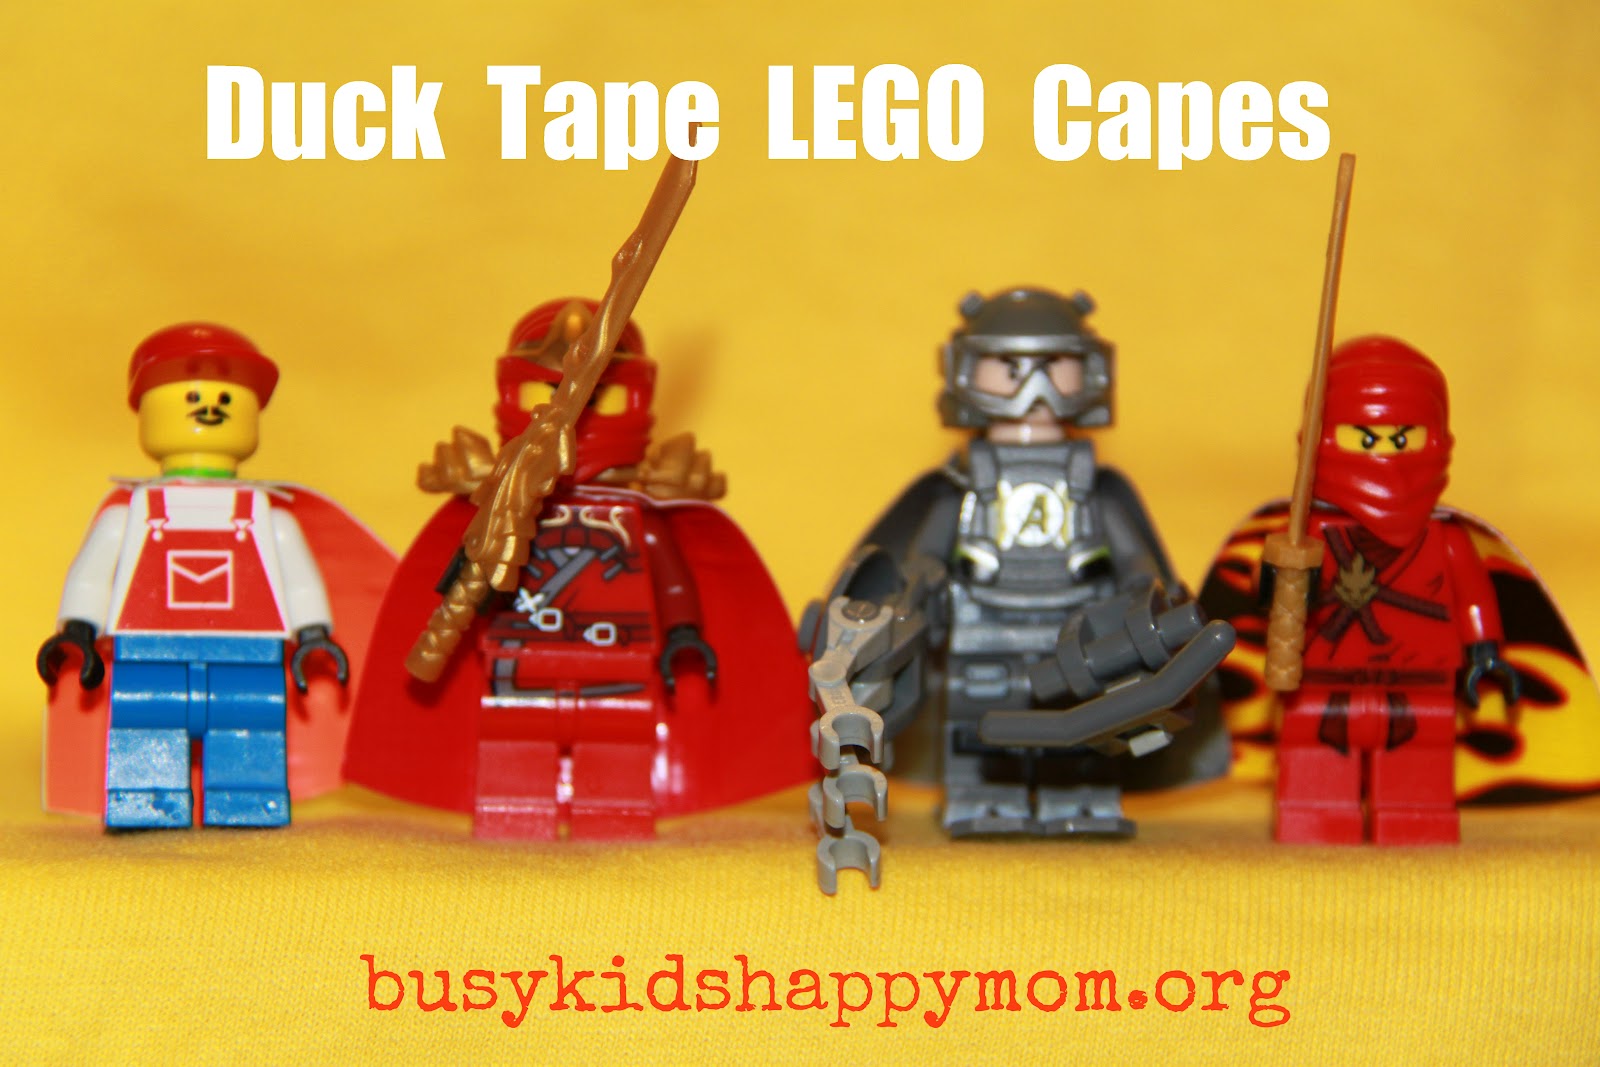
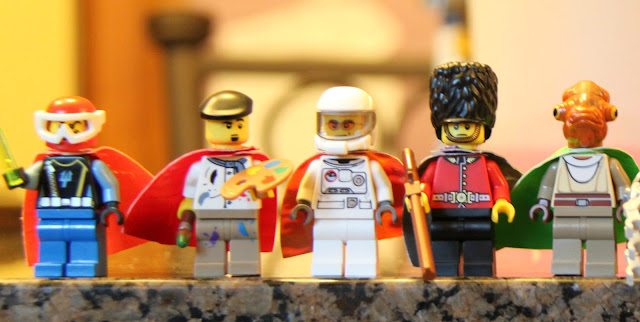
 Look at our fun LEGO guys with fabulous capes. They add a new dimension of fun to LEGO playtime!
You can even make the capes reversible! See the Ninjago LEGO on the right (ABOVE)? He has fire on the front and red on the back.
We made it with two different types of of duct tape.
Customize your capes with different duct tape colors and patterns for unique designs. Scroll down for link to pattern.
By following these instructions, you can create durable and stylish capes that will make your child’s LEGO minifigures the stars of their next adventure. Happy crafting and hope your child loves it!
Can’t miss with this craft!
Crafting Duct Tape LEGO capes is a simple and enjoyable project that adds a personal touch to your child’s LEGO collection. Not only does it enhance their playtime, but it also encourages creativity and fine motor skills. So, gather your supplies and start creating – your child’s LEGO minifigures will thank you!
>>>>>>>> Grab your FREE PDF:
Print LEGO cape pattern, click HERE <<<<<<<<
We love LEGOS! To see more of our LEGO creations (shirts, bean bags, etc) click here.
We also love Duct Tape and did a big round up of fun activities, click here.
I have some farm animals that could use capes at my house!
That is awesome! I’d love to see them when you’re done…. what doesn’t need a cape? 🙂
Just wanted laud your creation and give kudos; nicely done! I’ll definitely be making some capes. Thanks much for the tip!!
These capes look great!
I can’t find the pattern